A solid virtual speaker checklist covers five areas: connection and hardware, camera and audio, lighting and background, platform readiness, and rehearsal. Work through them in that order, because a problem in an early area ruins everything after it. Speakers can use the list to prepare themselves. Event planners can use the same list to brief speakers about a week before the event.
Most virtual talks do not fail because the content is weak. They fail because the audio cuts out, the speaker sits in shadow, or the wrong screen gets shared. A live audience will not wait while you troubleshoot. They simply switch tabs, and you lose them.
Robyn Benincasa delivers keynotes virtually as well as in person, and the same principle applies to both formats. The talk is won in the preparation, long before you hit the start button. Below, each of the five areas gets the same two parts: what to set up, and how to test it.
1. Internet connection and hardware
Start with a stable connection, a charged and updated computer, and a backup plan. If your stream drops, nothing else on this list matters.
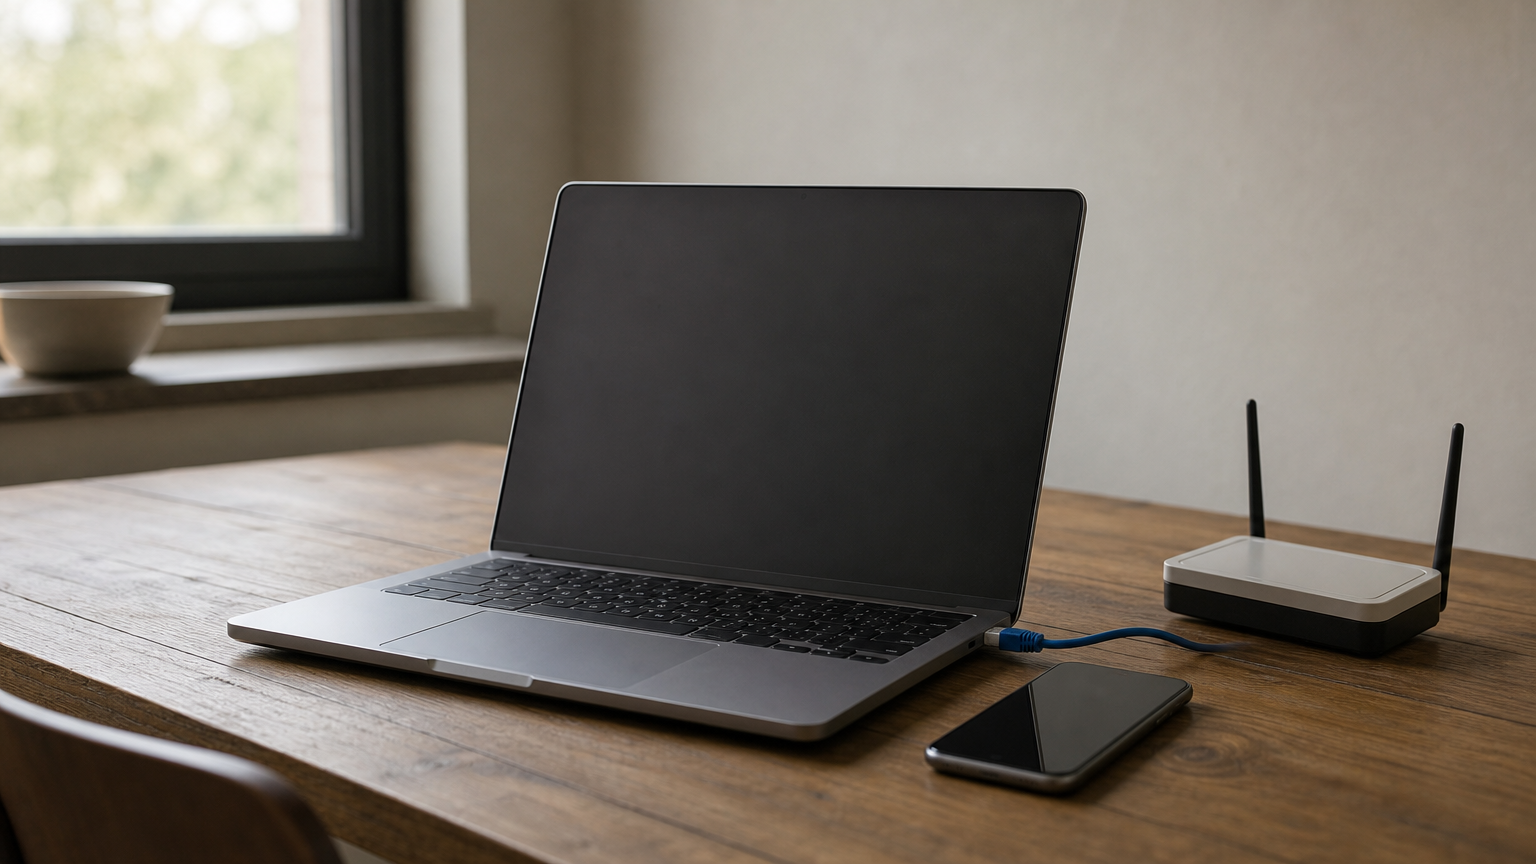
A virtual talk is only as reliable as its weakest cable.
What to set up
Use a wired Ethernet connection whenever you can. Wi-Fi works, but it fluctuates when other devices compete for bandwidth. Then prepare for the failure you hope never happens.
- Plug in the laptop and turn off sleep mode.
- Close every app you do not need, especially cloud sync and video players.
- Install pending system and browser updates days ahead, not an hour before.
- Keep a phone hotspot ready as a backup connection.
- Ask others on your network not to stream or download during your session.
How to test it
Run an internet speed test at the same time of day as your session, and compare the upload speed with the platform’s stated requirements. Restart your computer about an hour before you go live. A fresh restart clears memory problems that cause freezes mid-talk.
2. Camera and audio
Place the camera at eye level and use an external microphone or headset. Viewers forgive an average picture, but they do not forgive bad sound.
Poor audio loses an audience faster than poor video.
What to set up
Raise your laptop on a stack of books until the camera sits at eye level. A low angle looks unflattering and breaks the feeling of eye contact. Look at the lens, not at the faces on screen, when you make a key point. Frame yourself from mid-chest up, with a little space above your head.
- Use a USB microphone or wired headset instead of the built-in laptop mic.
- Keep a USB mic roughly 6 to 8 inches from your mouth.
- Turn off notifications on your computer and phone.
- Put your notes beside the camera so your eyes stay near the lens.
How to test it
Record a 60-second clip in the platform you will use, then play it back with headphones. Listen for echo, keyboard noise, and fan hum. Check that your face is centered and your hands stay in frame when you gesture.
3. Lighting and background
Put your main light source in front of you, and keep the background clean and uncluttered. Good lighting does more for how you look on camera than an expensive camera does.
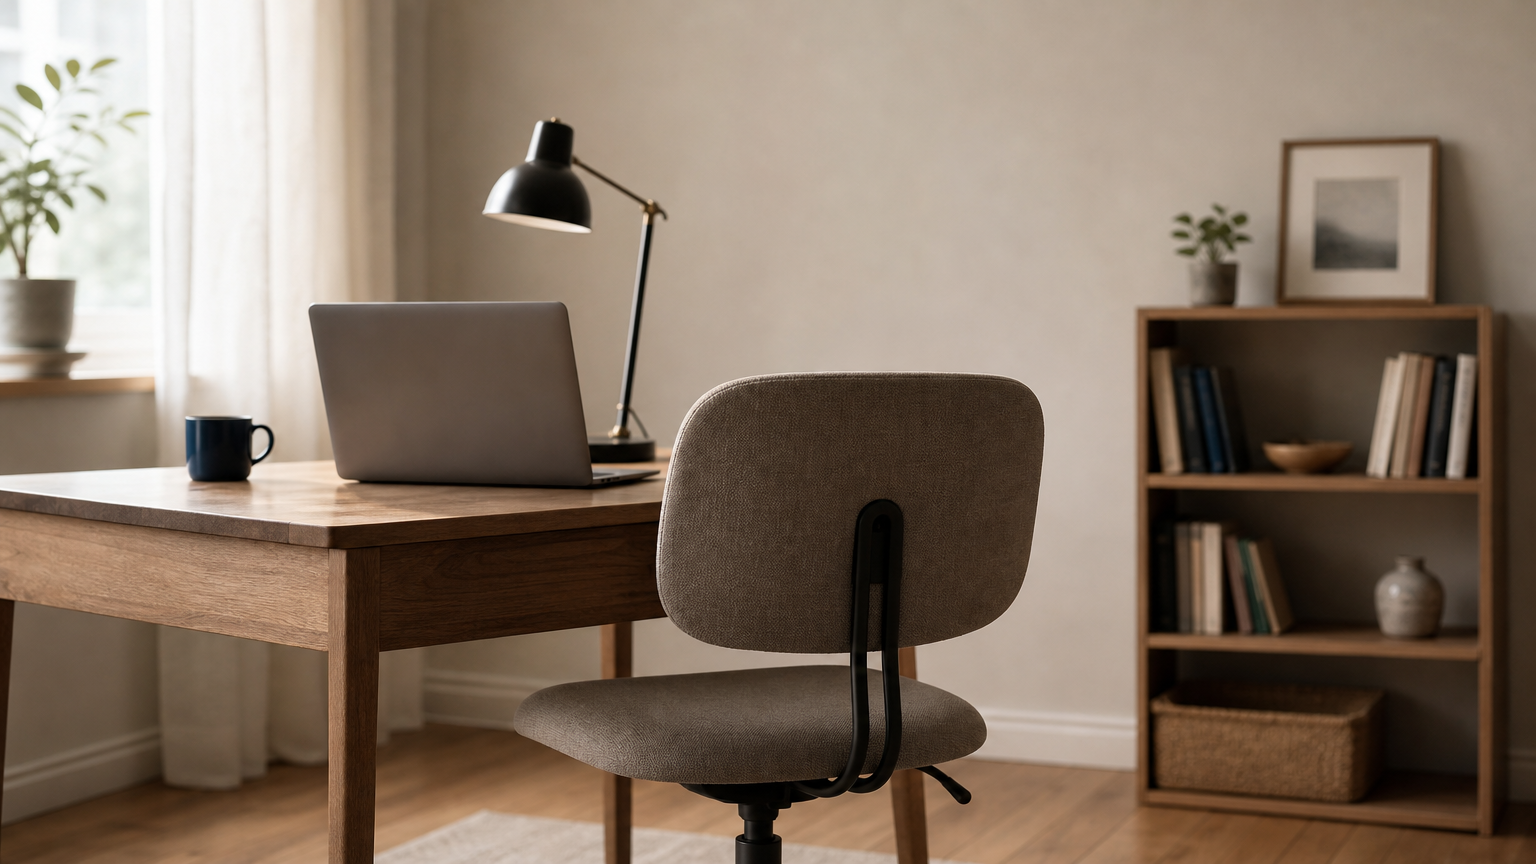
Light your face from the front, never from behind.
What to set up
Face a window or place a lamp behind your screen so the light falls on your face. A window behind you turns you into a silhouette. Add a second, softer lamp to one side if you see harsh shadows.
- Choose a plain wall or a tidy bookshelf over a busy room.
- Sit a few feet in front of the background, not against it.
- Use a virtual background only if the platform handles it cleanly, and test it with your hand movements.
- Wear solid colors, and avoid fine stripes or patterns that shimmer on camera.
How to test it
Test at the same hour as the event, because daylight changes. Check the preview for glare on glasses and for anything distracting behind you. Ask a colleague to join a call and tell you honestly how you look.
4. Platform readiness
Join the exact platform and session you will present on, with the exact role you will have. Whether it is Zoom, Teams, Webex, or a webinar tool, features and permissions differ from one setup to the next.
Never meet the platform for the first time on stage.
What to set up
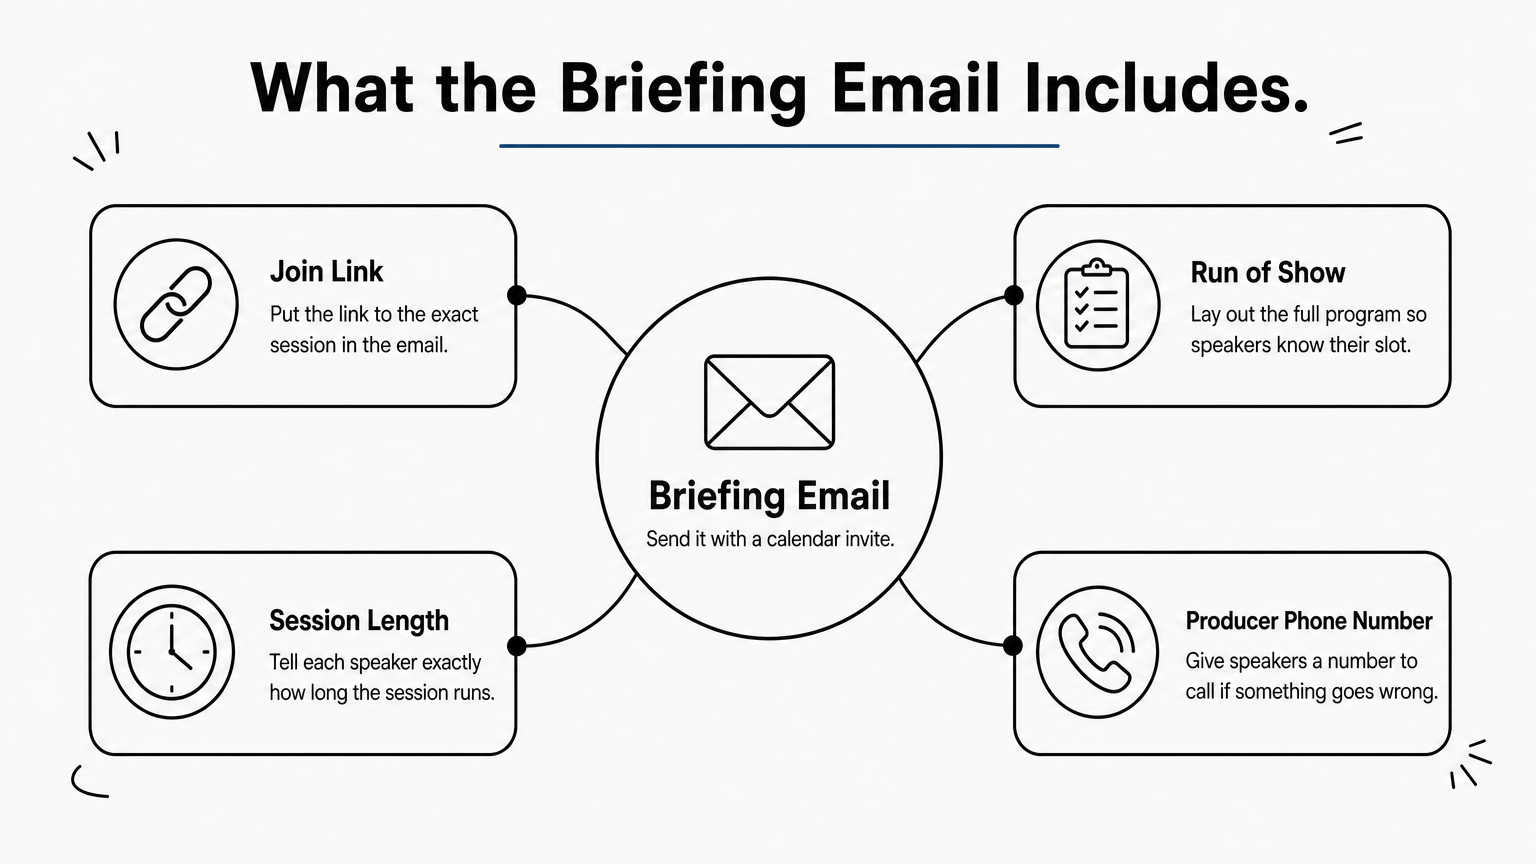
Planners should send each speaker a briefing email with a calendar invite. It should include the join link, the run of show, the session length, and a phone number for the producer. Speakers should confirm three things in advance: that they have presenter or panelist permission, how to share their screen, and how Q&A and chat are handled.
- Know who advances the slides, you or a producer.
- Learn where the mute, camera, and share buttons sit.
- Save a PDF copy of your slides on your desktop.
- Agree on a backup plan, such as a phone dial-in, if your video fails.
How to test it
Book a tech check with the producer at least a day before. Join with the same device, browser, and account you will use live. Share your slides, play any video, and confirm the audience can hear the audio from it.
5. Content and rehearsal
Rehearse the full talk out loud, on camera, on the real platform. Online audiences lose focus quickly, so your content has to work through a screen, not just on a stage.
If you have not rehearsed on camera, you have not rehearsed.
What to set up
Cut your talk to fit the slot with room to spare. For a 45-minute slot, plan 35 minutes of content and 10 minutes for questions. Build in an interaction every few minutes, such as a poll, a chat prompt, or a direct question. Keep slides sparse and large, since many viewers watch on small screens.
- Write out your opening and your closing word for word.
- Prepare two or three questions in case the Q&A starts slowly.
- Plan what you will say if the tech fails.
How to test it
Run the talk twice, once for timing and once recorded, then watch the recording at normal speed. Use this timeline to space out your prep.
| When | What to do |
|---|---|
| One week before | Send or review the briefing email, confirm roles, collect slides |
| One to two days before | Hold the tech check and a full rehearsal on the platform |
| One hour before | Restart the computer, silence notifications, check audio and lighting |
| Ten minutes before | Join early, check the preview, and keep water within reach |
Run this list before every talk
Connection, camera and audio, lighting, platform, and rehearsal make up a virtual speaker checklist that catches nearly every avoidable failure. Complete them in order, test each one under real conditions, and keep a backup for the things you cannot control. Then you can focus on your audience instead of your screen.
If you want more practical guidance on leading and presenting to high-performing teams, read more on the Robyn Benincasa blog.