The fastest route to virtual speaker certification is the Certified Virtual Presenter (CVP) test from eSpeakers. You book an appointment, pass eight required checks on camera, audio, lighting, and connection recovery, and record a 60-second proof video. The fee is $85 USD, or free if you have held a paid eSpeakers PRO account for at least three months. The badge stays valid for three years.
The confusing part is that "certified" means different things in different places. Search results mix a technical on-camera test, camera coaching programs, virtual training courses, and the Certified Speaking Professional (CSP) designation, which is a career credential. If you pay for the wrong one, you end up with a badge that doesn’t answer the question a meeting planner is asking: will this speaker’s virtual talk run smoothly?
This guide starts with what a certified virtual speaker credential proves and which programs exist. Then it walks through four steps: pick a program, build a setup that passes, take the test, and display and renew the badge. We write from the booking side. Robyn Benincasa delivers keynotes virtually as well as in person, so the on-screen basics below are the ones that decide whether a remote talk lands.
Why get a virtual speaker certification
A virtual speaker certification is a third-party credential showing that you can deliver a talk on camera without technical problems. No one requires it. Its value is that a planner can verify your competence in seconds instead of taking your word for it.
What a certification proves
Planners booking a virtual keynote worry about three things. Will the speaker’s audio and video work? Will the speaker recover if the connection drops? Will the audience stay engaged? A technical test answers the first two directly. Engagement is harder to certify, which is why programs like CVP treat polls, Q&A, and breakout rooms as optional, self-reported items. Showing a verified credential next to your name removes the technical risk from the decision.
The main programs side by side
Programs differ in what they test and what they cost. Only the CVP fee is published in the sources I trust, so check the other program pages for current pricing.
| Program | Issued by | What it shows | Cost |
|---|---|---|---|
| Certified Virtual Presenter (CVP) | eSpeakers | Passed 8 required on-camera checks, valid 3 years | $85 USD, waived with 3+ months of PRO |
| Virtual Presenter Certification | Speakermatch | Accredited virtual presenter program | See program page |
| Camera Ready Virtual Speaker Certification | Barnes Team Media | Training to get comfortable on camera | See program page |
| Certified Speaking Professional (CSP) | National Speakers Association | Career track record of paid speaking, not virtual-specific | See NSA page |
Public speaking schools also offer virtual training. Training builds skill, but it does not always end in a verifiable credential, so confirm that a certificate is actually issued.
A certification is worth paying for only if a client can verify it in seconds.
Step 1. Pick the program that fits your goal
Choose the credential that answers your client’s likely doubt. If the doubt is "will the tech work," take a pass/fail technical test like CVP. If it is "is this speaker comfortable on camera," a coaching program fits. If it is "is this a seasoned professional," only CSP speaks to that.
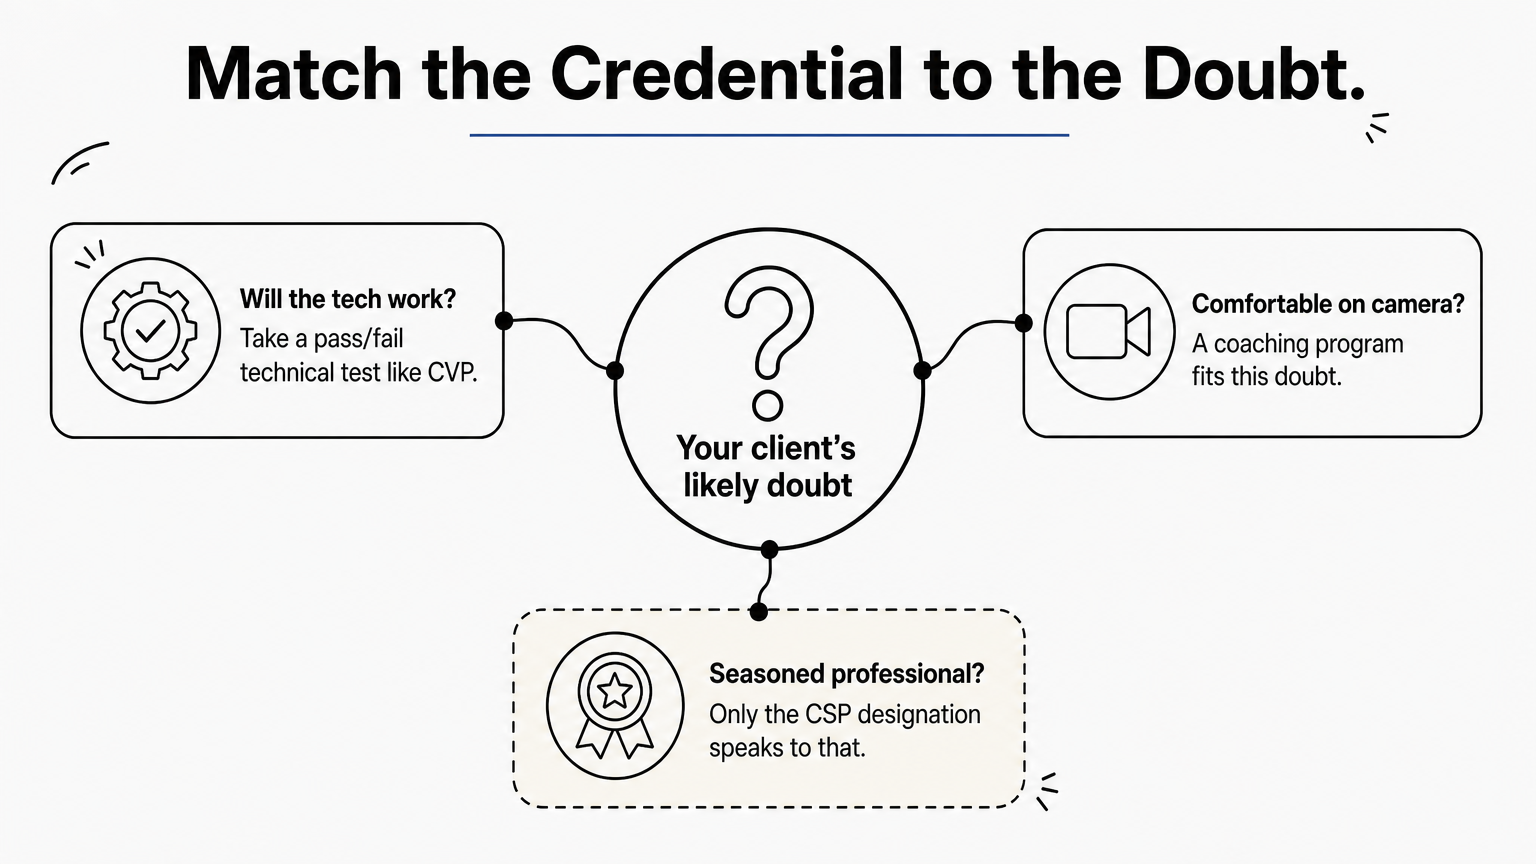
Match the credential to your goal
For most speakers, I recommend starting with the CVP. It is objective, cheap, and quick, and it shows up on your eSpeakers profile automatically. Add a coaching program if your on-camera delivery feels stiff, because a technical pass will not fix presence. Pursue CSP later, once you have a long record of paid engagements. It is a different tier of credential and a different level of effort, and the NSA lists the current requirements.
Questions to ask before you pay
Run any program through this checklist:
- Who issues it, and do planners recognize the name?
- What exactly is assessed, and is it pass/fail?
- How long does the certification last, and what does renewal cost?
- Can a client click your badge and see the evidence?
- Is the fee waived or reduced for members of a platform you already pay for?
Pick the program by the doubt it removes, not by the length of its name.
Step 2. Set up your studio to pass
You pass the CVP by fixing eight things in your room before the appointment starts. Every required item is observable, so a setup you have rehearsed beats raw talent.
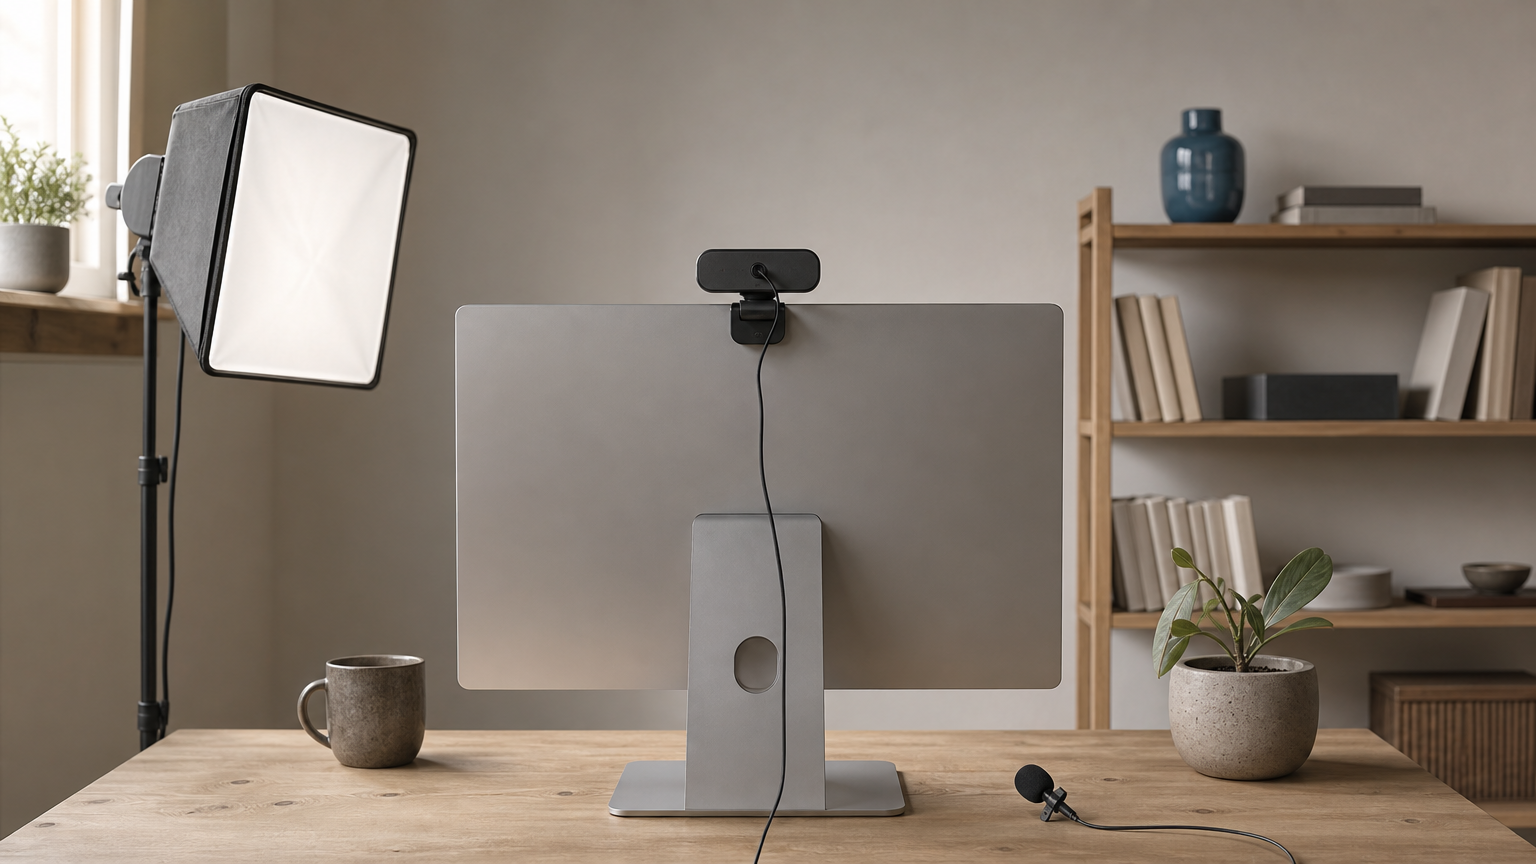
Fix the eight required checks
| Required check | How to pass it |
|---|---|
| No camera or mic problems in the first 60 seconds | Join a test call 15 minutes early and confirm the right camera and mic are selected |
| Professional, distraction-free background | Clear shelves, remove clutter, and use a plain wall or a tidy bookcase |
| Your face is the dominant feature | Frame head and shoulders, with the camera at eye level |
| Face is well lit | Put a soft light in front of you. Never sit with a window behind you |
| Audible and easy to understand | Use a headset or lavalier mic, not the laptop mic |
| No background noise | Close the door and silence phones, washers, and notifications |
| Recover from a network break in 60 seconds | Leave the meeting and rejoin, timing yourself until it takes well under a minute |
| Computer is connected to the internet | A wired Ethernet connection is the safest choice |
Add the optional items
The optional items are self-reported, but they are where you differentiate yourself from other certified speakers. They include a dedicated mic, tested daytime and nighttime lighting, backup internet access, and using chat, polls, Q&A, and breakout rooms. A phone hotspot covers the backup-internet item at almost no cost.
Rehearse the network-break recovery. It is the one check most speakers have never practiced.
Step 3. Book and take the test
You book the CVP through the certification appointment link on the eSpeakers support page. Then you take a test that runs through the eight required checks and ends with a short proof video.
Book the appointment and settle the fee
The fee is $85 USD. It is waived completely if you have had a paid eSpeakers PRO account for at least three months before you certify. PRO members also get one free assessment every five years. If you want to retake the test early, you pay the standard $85. Schedule the appointment for a time when your household and street are quiet, because background noise is a required check.
Pass the test and record the proof video
Treat the appointment like a live booking. Be in position early, with your link, backup device, and hotspot ready. All required checks must be passed to receive the badge.
At the end of a successful certification you record a 60-second proof video that becomes part of your certificate. Plan it as a mini-introduction: your name, the topic you speak on, and who you speak to. Rehearse it twice and keep your delivery steady.
Book the slot you would choose for a paid client event: quiet, bright, and unhurried.
Step 4. Display and renew your badge
Once you pass, you can show the badge anywhere clients look for proof. Your eSpeakers profile gains it automatically, and you can add it to your website and marketing materials. Anyone who clicks it lands on your certification report with the details.
Put the badge where planners look
Place it on your speaker page, one-sheet, proposals, and email signature. Pair it with a plain-language line so the badge is not the only message. This text is ready to paste:

Certified Virtual Presenter (eSpeakers), certified [year].
Tested on camera, lighting, audio, and connection recovery.
Use the same wording in your bio and your proposal intro so that planners see one consistent claim.
Keep it current
The certification is good for three years. After that you must certify again to keep displaying the badge, so set a calendar reminder a few months before it lapses. Since the free PRO assessment comes once every five years, expect to pay the $85 fee for a retake at year three. Treat renewal as a chance to add the optional items you skipped the first time.
Put the expiry date in your calendar the day you pass, because an expired badge is worse than none.
Ready to put your certified setup to work
Virtual speaker certification comes down to proving, with a third party’s verification, that your video, audio, lighting, and recovery plan work. Pick the program that answers your client’s doubt, build the studio around the eight required checks, take the test in a quiet slot, and display the badge with a line that explains it. Renew before it expires.
A credential gets you through the planner’s first screening. The talk itself still has to deliver, so keep working on engagement as hard as on equipment. For more practical advice on speakers, events, and team culture, browse the Robyn Benincasa blog.